

Fresh Starts for Old Pieces: DIY Furniture Makeover Projects
Chosen theme: DIY Furniture Makeover Projects. Give tired tables, dressers, and chairs a second life with approachable techniques, creative finishes, and clever fixes. Whether you have one evening or a weekend, you’ll find inspiration, guidance, and a friendly nudge to start your next transformation today.
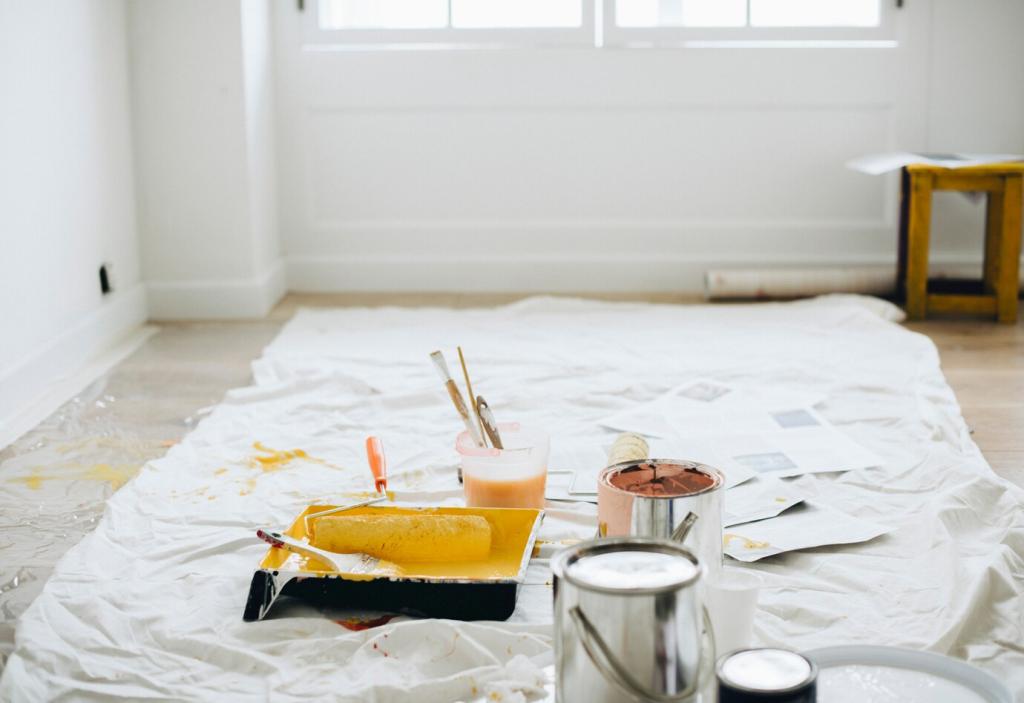

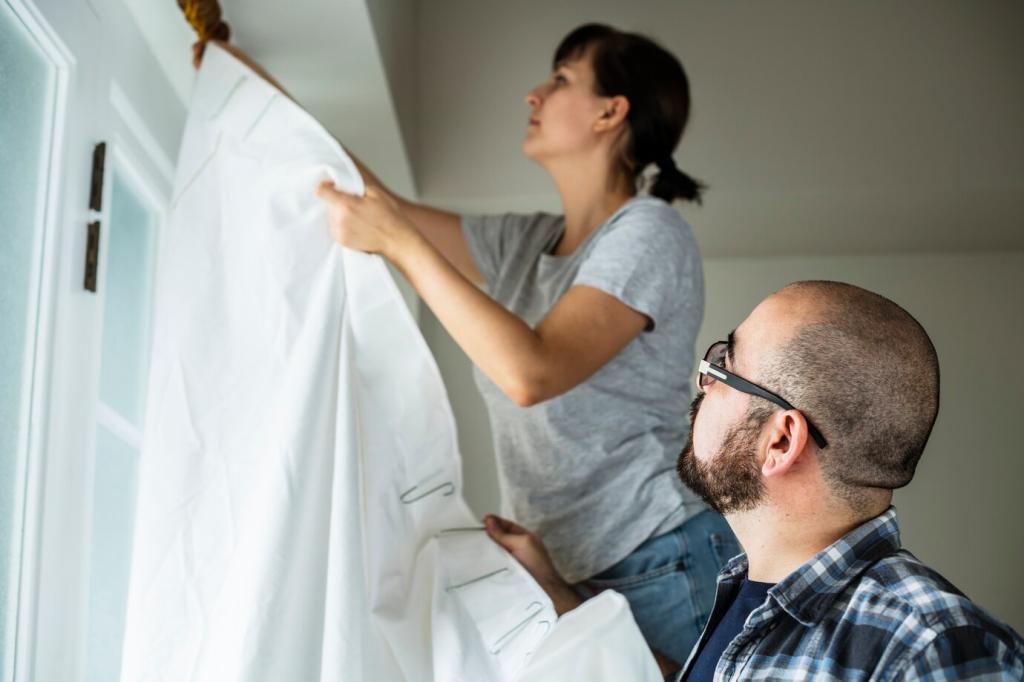
Getting Ready: Tools, Safety, and a Smart Workspace
Start with a quality brush, foam rollers, sanding block, orbital sander, wood filler, painter’s tape, and a multi-bit screwdriver. Add a drop cloth, tack cloths, and a respirator. With these essentials, you’ll confidently tackle prep, painting, and small repairs without scrambling mid-project or overspending.
Getting Ready: Tools, Safety, and a Smart Workspace
Choose bright lighting, ventilate well, and elevate pieces on paint pyramids or scrap blocks. Keep a dedicated cleaning station with rags and a mild degreaser. A folding table for tools and labeled bins for hardware minimize chaos, reduce mistakes, and keep DIY furniture makeovers enjoyable and efficient.
Prep Like a Pro: Cleaning, Sanding, and Repair
Clean Deep Before You Touch Sandpaper
Use a gentle degreaser or diluted dish soap to remove oils, wax, and fingerprints. Rinse with clean water and let it dry fully. Dust hides everywhere, so wipe again with a tack cloth. Proper cleaning dramatically improves adhesion, which means fewer chips and a longer-lasting transformation.
Sanding Strategies That Respect Your Piece
Scuff-sand glossy finishes with a fine grit for better adhesion. For damaged tops, step through grits from coarse to fine. Hand-sand delicate details to preserve character. Always sand with the grain, and vacuum dust carefully. Thoughtful sanding reveals wood’s potential and readies surfaces for beautiful new finishes.
Repair First: Fill, Glue, and Clamp
Tighten loose joints with wood glue and clamps. Fill gouges with wood filler and sand flush after drying. Replace missing veneer with patches, feathering edges delicately. Repairing structure before paint ensures your DIY furniture makeover looks intentional, feels sturdy, and holds up to real-life use and admiration.
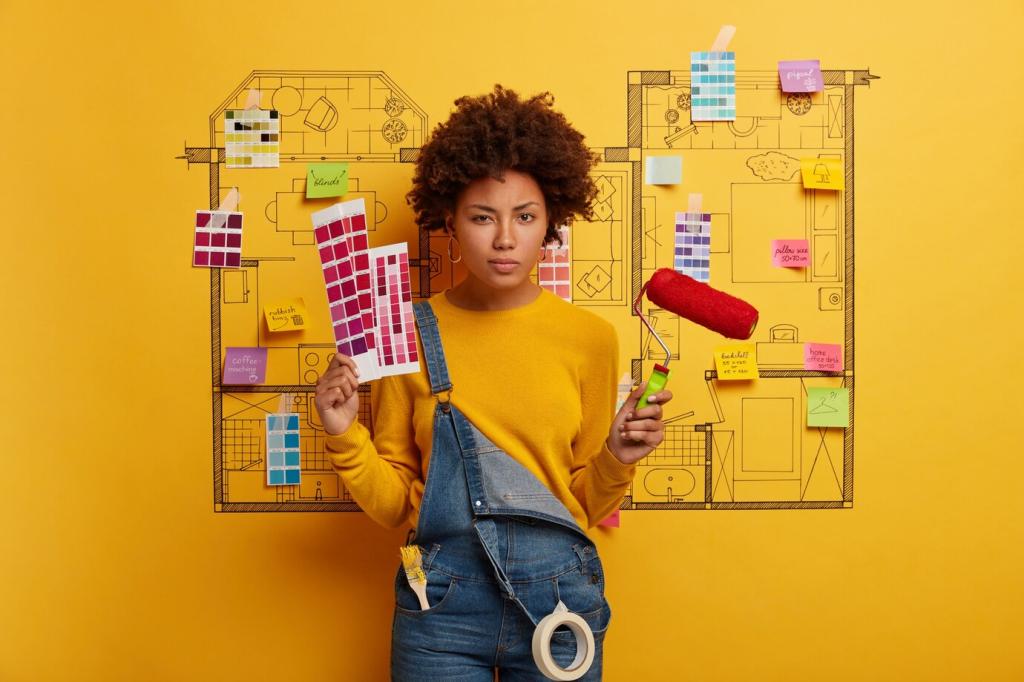
Color, Stain, and Finish: Choosing the Right Look
Chalk paint forgives brush strokes and distresses beautifully, while enamel or cabinet-grade paints deliver durable, wipeable finishes. For laminate, use a bonding primer first. Sample colors in daylight and evening light. The right paint elevates a simple DIY furniture makeover into something polished and personal.
Color, Stain, and Finish: Choosing the Right Look
Water-based stains offer quick drying and low odor, while oil-based versions deepen grain. Gel stains excel over tricky surfaces. Always test on a hidden area and wipe consistently. Balancing stained tops with painted bases creates warmth and contrast that feels timeless, friendly, and refreshingly modern.
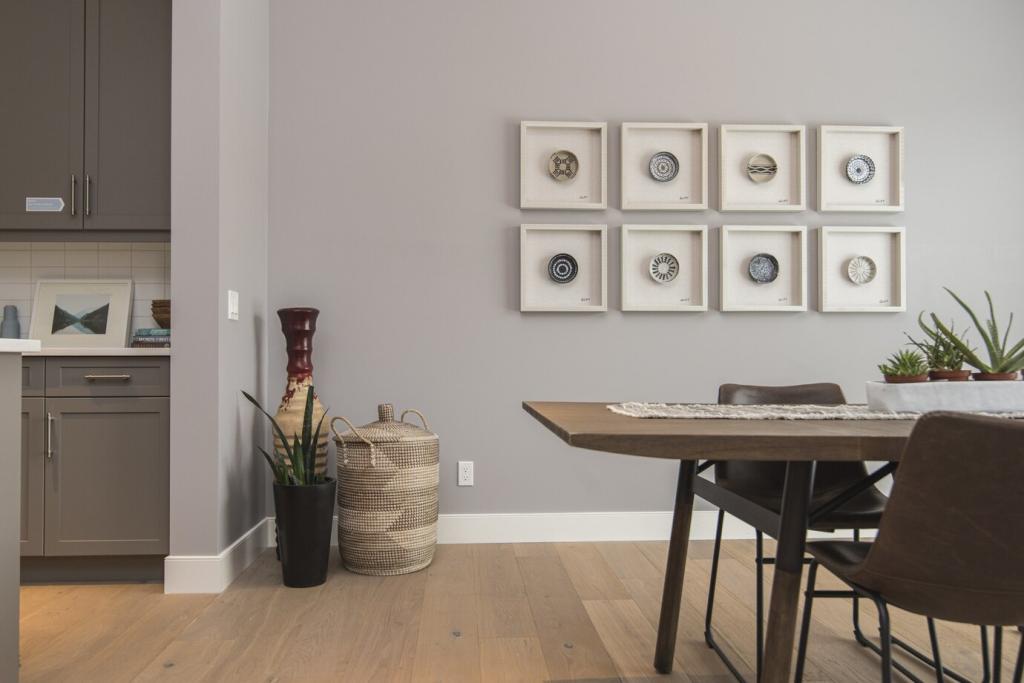
Creative Techniques to Add Character
Mask off drawers or legs and pair a bold color with a neutral body. Leave a stained top to warm the palette. This simple design trick modernizes thrifted pieces and makes small rooms feel styled. Share your color combos with us for feedback and fresh DIY furniture makeover ideas.
Hardware and Details: Small Changes, Big Impact
Swap dated knobs for brushed brass, ceramic, or leather pulls. Use a template to drill accurately, and keep original hardware labeled in case you want to restore. Hardware tells a story—choose pieces that echo your paint tone and style. Show us your before-and-after close-ups for community cheers.


Grandma’s Dresser, Modern Heirloom
Maya rescued a water-stained dresser with a walnut-stained top and deep teal body. New brass pulls echo the grain’s warmth. Her kids now store art supplies in once-sticky drawers. Share your heirloom updates, and we’ll spotlight the DIY furniture makeover that blends family history with fresh style.
Desk to Vanity, Weekend Wonder
A thrifted desk gained a round mirror, soft blush paint, and velvet-lined drawers. After adjusting a wobbly leg and adding slim brass bars, it became a calm morning ritual space. Tag your weekend projects to inspire others seeking quick yet meaningful DIY furniture makeover wins at home.

Tiny Table, Big Conversation Starter
A scratched side table turned chic with a black satin finish, cane-wrapped shelf, and playful striped drawer sides. Friends asked where it was from. The owner smiled, saying, “I made it.” Share your favorite detail shot, and subscribe for weekly DIY furniture makeover tips and surprises.